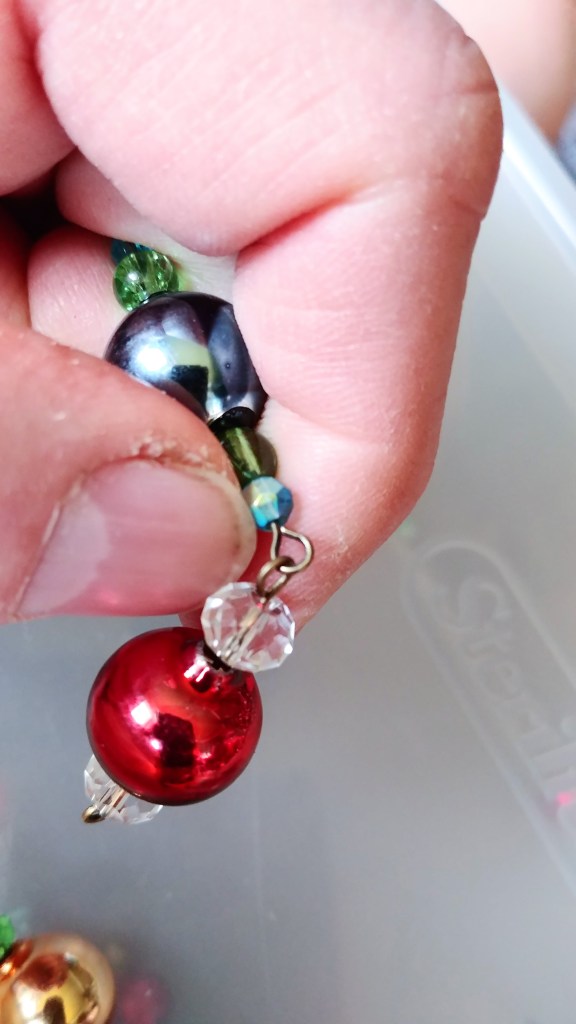
Assembling the garland sections uses exactly the same process I learned to make a wired necklace, or earrings.
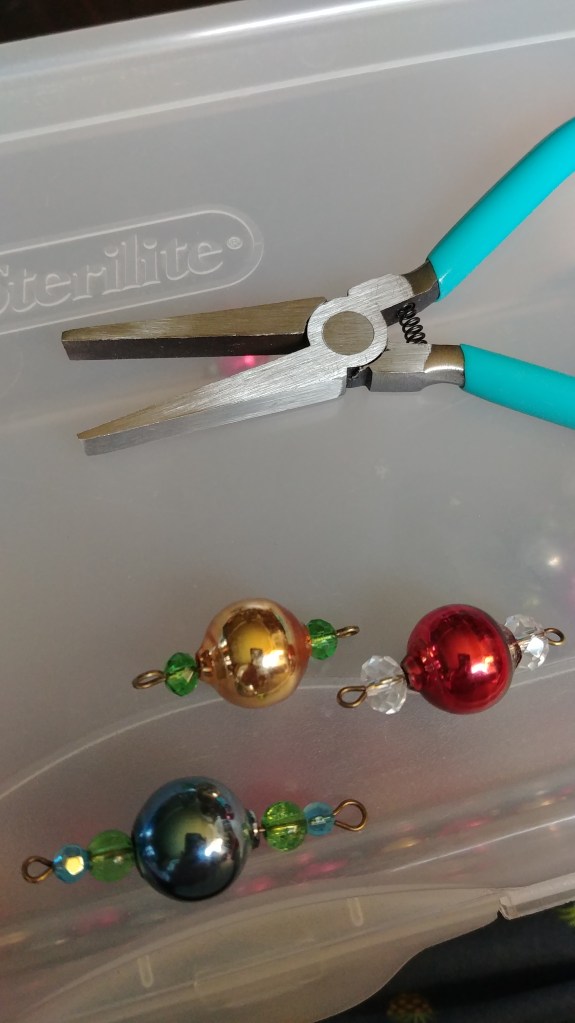
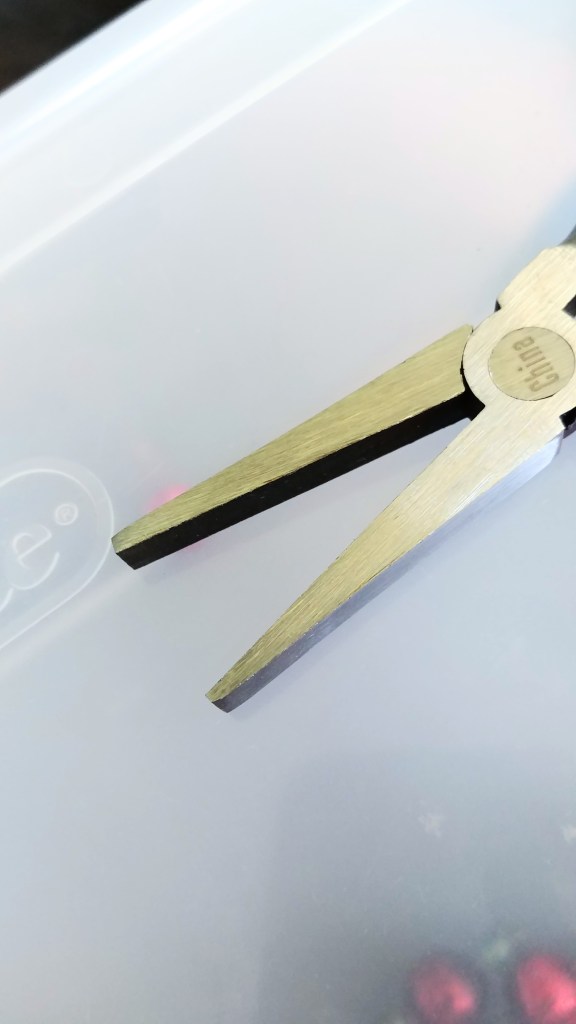
It’s important to note: the flat-nose need to be the type specifically made for jewelry, with a smooth pinching surface. Traditional needle-nose pliers with a serrated surface will chew up the surface of the wire pins.
A basic starter set, including wire cutters, and round-nose and flat-nosed pliers can be found affordably at any craft store with beading supplies.
With the pliers, grip the half of the eye that has the wire end:
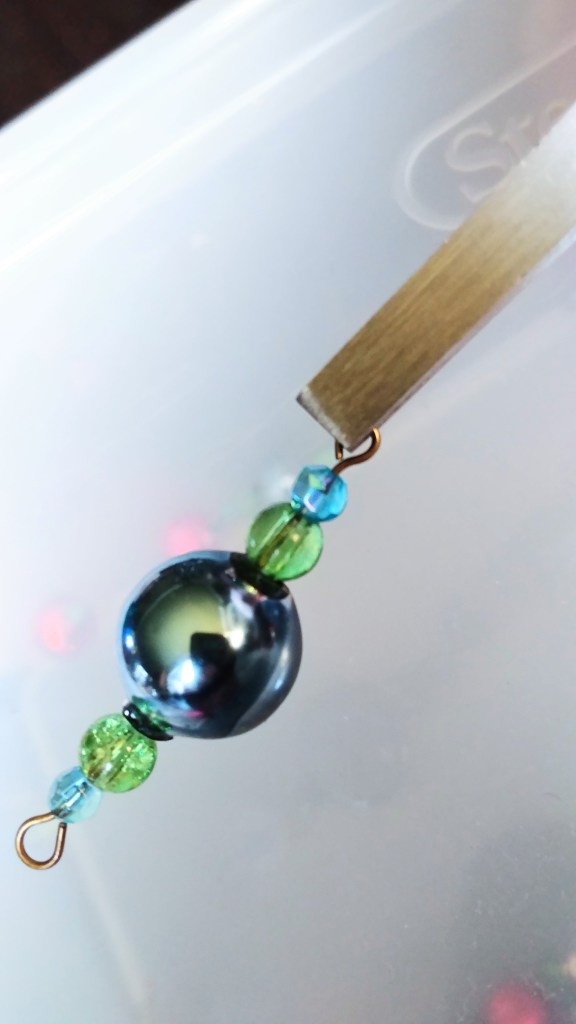
Open the eye by bending that half up out of the plane of the eye:
Note: opening the eye by bending it outward creates a misshapened eye in the final product.
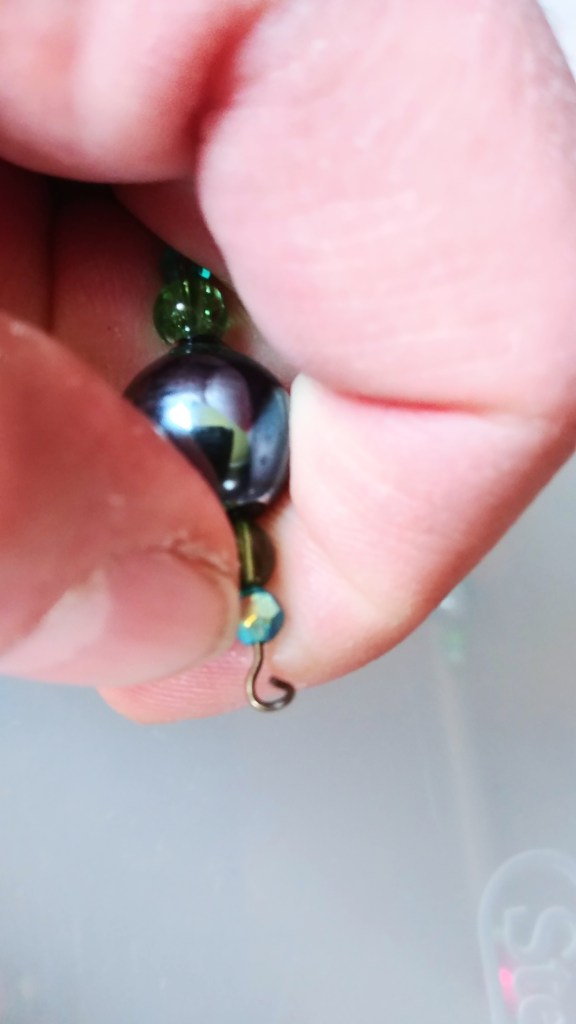
Hook the next segment onto the opened eye:

Close the eye by reversing the first step:
Note: Be sure that the eye is fully closed, else the strand segments detach as you move the garland about.
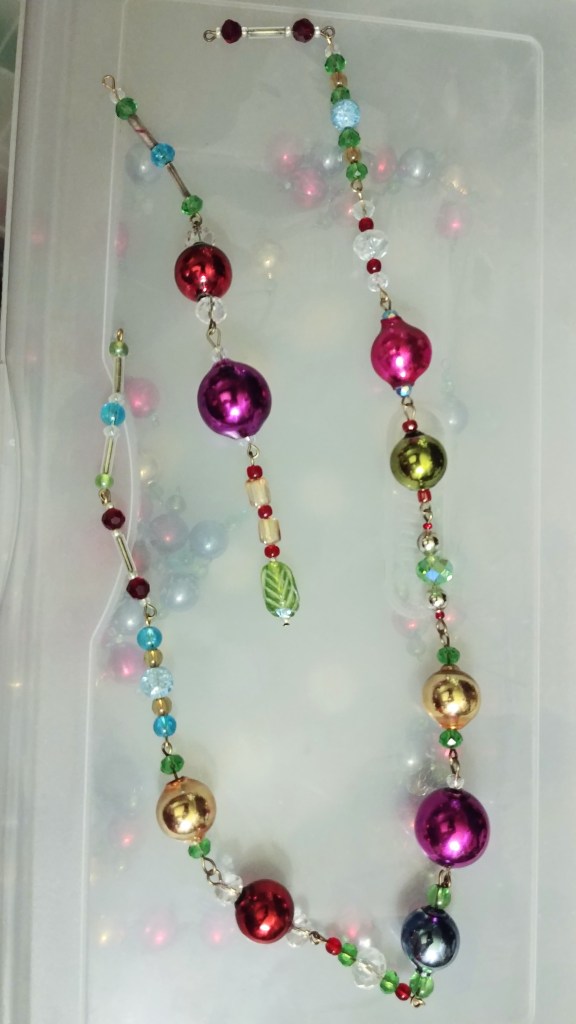
To assemble the final garland, I hook the eyes onto an altered ornament hook:

The order on the hook is as follows: short strand, long strand, pendant (I only sometimes add this one), long strand, short strand.

The garland doesn’t completely circle the tree. I start each tier from the left. the first hook has a longer-than-usual pendant, a long strand, and a short strand – in that order.

To hook the right end of a scallop, I hang both ends onto the lower end of the hook, short strand then long. I then rotate the hook until the strand ends are hanging from the bottom curve of the hook. Otherwise, the strands will twist and bunch.
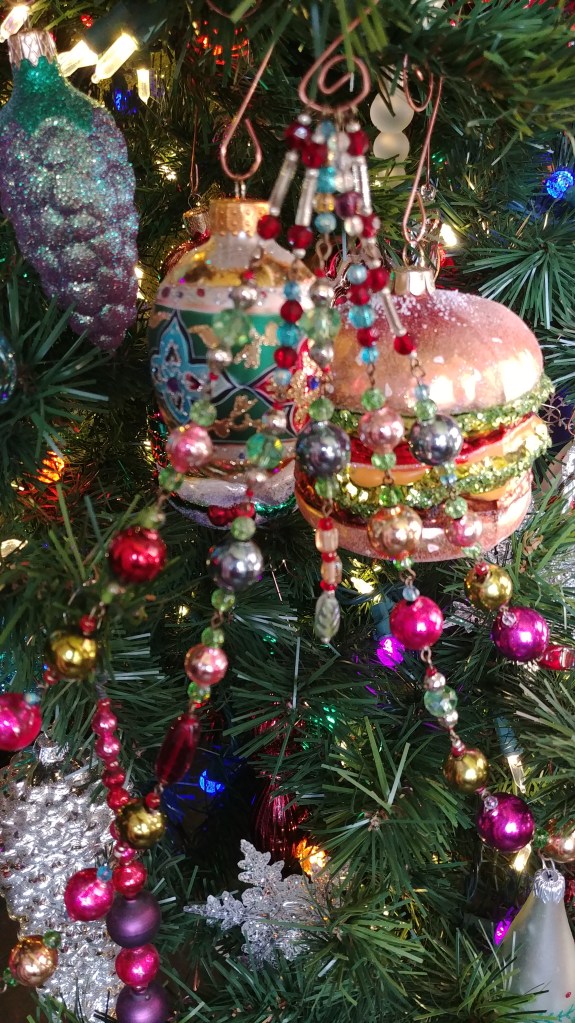
From there, I would add a pendant and the starting ends of the strands for the next scallop.
